Monday, May 31, 2010

Inspiration

I found this great blog,

Stash Manicure

 Stash Manicure shows ideas to reduce or use up the fabric from our stash.
I have some scraps that I think they are too little to use, this blog provide the idea how to use them.

So.. go and visit 

Stash Manicure


H&H

Wednesday, May 26, 2010

Twin Pencil Pouch Part 2

It's time to continue..
Now I have fabric with "A" aplique and flower applique.

Let's sew the zipper

1. Make sandwich from appliqueed fabric, zipper and lining fabric right side together. turn them and make topstich.


2. Turn it again, sew a basting stitch all around the edges, leave a small opening.
3. Pull out the right side of the fabric.
4. Close the opening by handstitch
5. Now I have two pouches.


6. Run a basting stitch inside a pouch to connect that two pencil pouch.


I am not too happy.... the finished pouch is uneven, one is wider a little than the other.
But I like the "A" and the flower on felt, i think I will make more...
...........^_^

Sunday, May 23, 2010

Disney Baby Set Book Giveaway at An Island Life

Go to: An Island Life and enter to win Disney Baby Book Set Giveaway.... I have...
What a cute books to win and the little sister would really love them.
Links:  an Island life

An Island Life

Monday, May 17, 2010

girl's tunic


girl's tunic, originally uploaded by happytobenice.
This is the picture of the whole tunic. The other day I uploaded the collage.
The zipper that difficult to sew is useless, the tunic can be wear without opening the zipper.. *_*.
I sew the bias tape with machine and with hand. First it stitch by machine and I fold it and sew the backside by hand, It's not difficult but it needs more time. Also when sewing the curve like the sleeve, I sew it first by hand (baste stirch) to replace the pin, and then I sew it by machine. If I just pin it and sew by machine, I will have uneven sleeve.
I upload the picture to elsie marley group

happy&handmade

link:
elsie marley group on Flickr

From Skirt to Dress


strawberry dress, originally uploaded by happytobenice.
This was big sister's skirt, It is too small for her now. My plan is to make a paysan dress from this skirt, but it end up to this cute summer dress. I think it is not bad, and the little sister is happy with her new dress.
I just upload the picture to elsie marley group at Flickr.

Happy&Handmade

Links:
Elsie Marley Group on Flickr

Saturday, May 15, 2010

Top with Bow


The top for my ten years old is finished, the picture is not too good because it is night time here, so little light, tomorrow I will try to take a pretty picture.

Thursday, May 13, 2010

Kids Clothes ...

It's day 3 allready at Kids Clothes Week Challenges, and my project is not finish yet.
Today, i spent almost all day making this top for big sister.
 I have cut the fabric yesterday and start sewing in the morning (after preparing breakfast, doing the cleaning and laundry) well.. it's almost noon actually when I start sewing the top.
This top or tunic pattern is from burda fashion, I pick the smallest size (34). .. my daughter is 10 years old and her height is 148 cm. I altered the pattern: adding the shoulder width, the original pattern is too narrow; shortening the tunic length and add ruffle to the tunic bottom. and I am thinking of adding pockets .

I spent the longest time to attach the zipper and it still doesn't look good to me but I manage to hide it.
The rest is not difficult but I still have to be carefull.


I will continue sewing this top tomorrow, tomorrow I will be sewing the sleeve and trimming the thread.


link:

Tuesday, May 11, 2010

Kids Clothes Week Challenges at Elsie Marley

I am entering this challenge, because I need a motivation to make my kids some pretty clothes to wear.
I already choosing fabrics and patterns, and I just finished the cutting process for a blouse for big sister. But I don't take picture yet, so I can't put some picture of my kids clothes projects.
I am so exciting about this challenge because it is not a competition, I like to think that I am one of those moms who is making something for her kids.
Now, I better go and finish my projects. {  OO.. The continuing story of my twin pouch have to wait for a while..  }

links:
kids clothes week challenge: button, rules and players
elsiemarley.com

Monday, May 10, 2010

Twin Pencil Pouch


I made two pencil pouch, and stitch them together, now I have twin pencil pouch.
I will try to tell you what I've been through to get this twin pencil pouch.
1. I cut the fabric according to the size I want.

2. sew the flower and the pink fabrics right side together, and topstich them

3.Make the flower and the "A" for applique. I draw myself a flower and an "A" on the wrong side of fabric, cut it and sew them with zigzag stitch to a felt. cut the felt around the applique pattern. Sew the applique to the fabric that I have topstitched.

O.. my internet time is up ( little sister wakes up..psst.. ),  this project story is to be continued...

happyandhandmade

Sunday, May 9, 2010

Fabric from Red Rooster


I won this 1 yard red rooster fabric from 'Tweet to Win' Burdastyle. The question was: what you going to create with this fabric and I answered that I will make a bag and a matching camera pouch.
But now, after "meeting" the fabric personally, I'm not sure if i'm going to make a bag. Right now I just read the print of the fabric.. This is a fun fabric, the text on fabric is some instruction or tutorial.. oh I love this fabric.

happyandhandmade

Links:
red rooster fabric
'Tweet to Win' Burdastyle

Sunday, May 2, 2010

Cowlneck Spring Top

I see a lot of fun at Made by Rae - Spring Top Contest. I just want to join the fun and make myself a cowl neck spring top.

the pattern is from Twinkle Sews by Wenlan Chia, It is called Take Mahattan.


This is my first attempt on Twinkle Sews pattern, I use size 12 (bust=38"), but I think next time I will try to use smaller size, maybe 10.
This is some of my sewing process picture of this top:


Thank You All,
Happy'nHandmade

Links :
Made by Rae
Official 2010 Spring Top Week Entries
cowl neck spring top
Twinkle Sews by Wenlan Chia

Saturday, May 1, 2010

Let's Make A Bag - finish

I want my bag to have two inside pockets. One with zipper and the other one without zipper.
To make the pockets, I cut three rectangles in different sizes: 1. 21 cm - 5 cm; 2. 21 cm - 14,5 cm; 3. 29 cm - 14 cm. Seam allowances not included, so I add 1 cm for seam allowance. And I need a zipper.


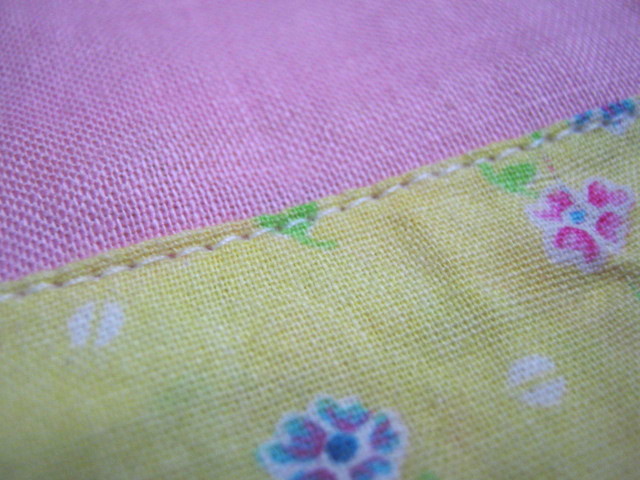
I attach the zipper to the rectangle no 1 and no 2, then I fold the seam allowance and pin it to the position (center of lining bag). I stitch the pocket to the lining bag.

 Pin the pocket without zipper  to the lining bag and sew it. I add stitch in the 'a little to the right middle', so I have two more pockets here.

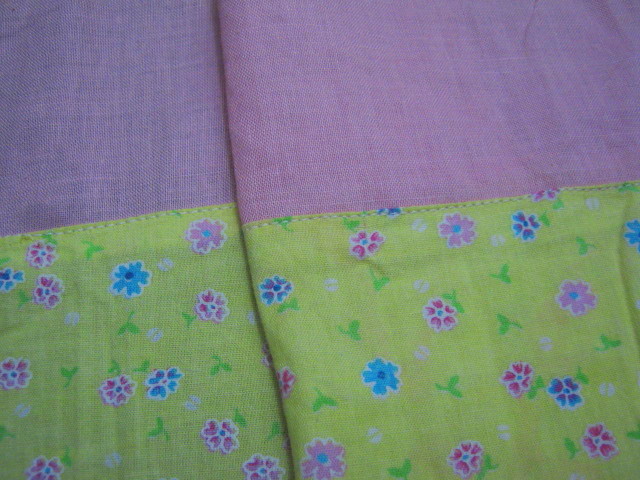
I am Ok with these pockets, now I sew around the edge (side edges and bottom edge) of the lining bag right sides together, so I have an inside bag. I do the same with the bag (yellow fabric). I am sorry I don't have picture of this step.
Then I attach the strap to the bag's body.

On both bottom corner I sew a line to make this bag have a square shape.

I finished make two square shape bags, now I sew them together to make a whole one bag.
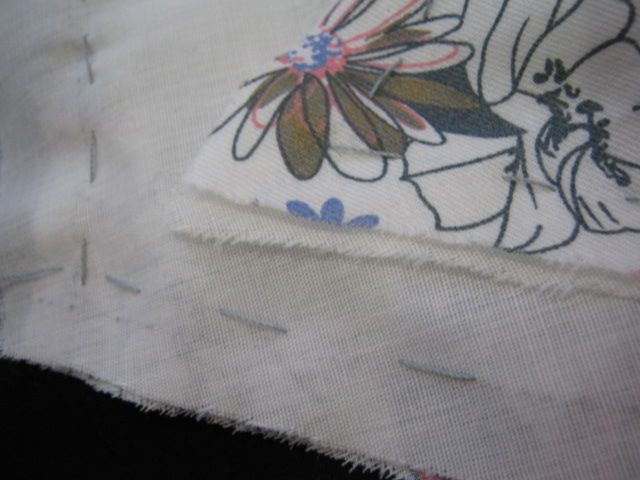
First, I put the lining with right side out in the bag with wrong side out, so now I have the bag's right sides together. I sew the bag and the lining right side together.I sew all around edges and leave an open space on the center. ( after doing this I realize that it would be better if the opening is on the bag's part that have straight line to sew example on the strap part ).


Clip the seam allowances at the curve points.

I trim the bottom corner. I do this on all four corner from the bag and the lining.
Before I turn the bag inside out, I make the strap for button first. I cut a little rectangle and double fold it then iron it.

I sew the button strap,
 and I sew the button strap to the center of bag, on the space that I left open.

Now I am ready to turn the bag. 
to make it easier on topstitching the bag, I iron the bag first, specially the part where I will topstitch it.
Topstitch will add shape to the bag and it is to close the open space that I used to turn the bag inside out.

 I sew the button, 

 and make a knotted strap.
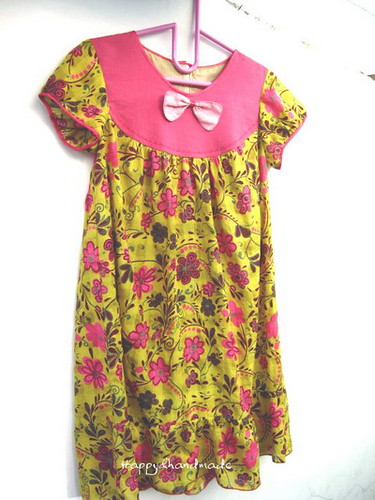
Pheww! Finally...


Ok, the bag is finished... 
I already have another project, actually this project have finished before I finish this bag. Well.. I am an easy distracted person, .. that is why my project list is rarely checked and I have a pile of unfinished project.


Related Posts with Thumbnails